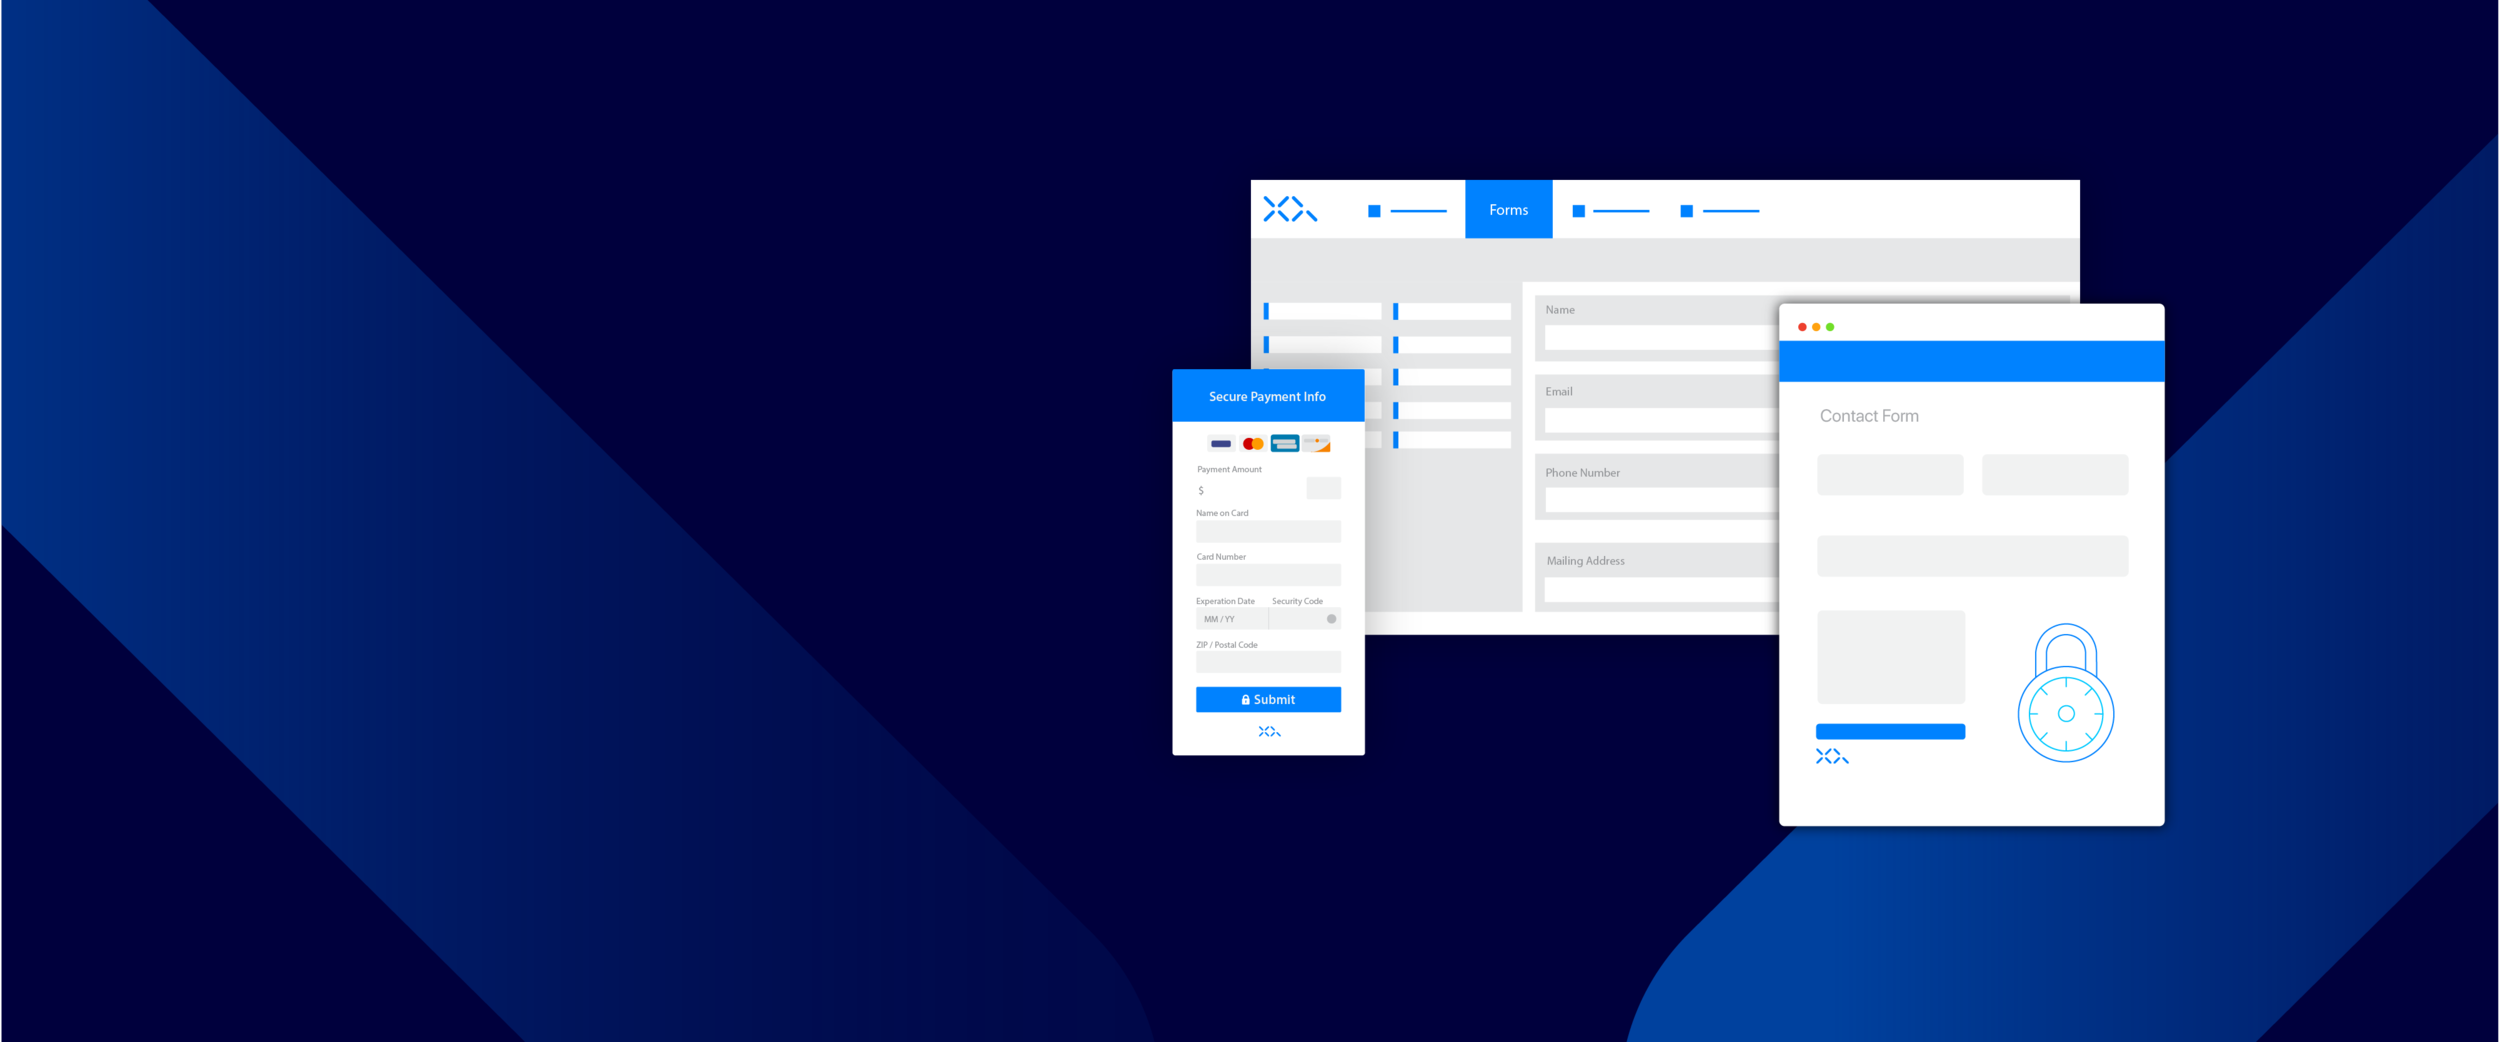
XQ Secure Forms Wordpress Plugin
XQ Secure Forms Wordpress Plugin
XQ Secure Forms ensures that every piece of client information is secure, from submission to receipt.
Introduction to XQ’s Secure Forms Wordpress Plugin
XQ's Secure Forms offers a more secure and compliant alternative to traditional form solutions and protects your customers’ personally identifiable information before it is transmitted over the public internet.
XQ Secure Forms is easy to set up and is a hassle-free solution for safely receiving client information. XQ works with your existing form, so no need to replace the form solutions you have already invested in.
When a client, a patient, a customer, or a prospect fills out your form, a unique encryption key is generated and the form data is encrypted in the client’s browser. The encrypted data is then delivered to your email- XQ never stores your data and ensures that only authorized users can decrypt it, keeping your client data safe from prying eyes.
Secure forms protect data with XQ’s zero-trust data protection platform. This allows you to safely collect sensitive customer information on third party websites like Wordpress and Squarespace while maintaining control over your customer’s personally identifiable information that you intake.
Installation & Setup
To get started open the administrator dashboard of your Wordpress website. Click on Plugins in the main administrator navigation bar followed by the add new option. In the search field of the Add new plugins page type in “XQ Secure Form”. Click the Install Now button on the XQ Secure Form plugin followed by clicking the activate button.
In the administrator dashboard, hover over ‘settings’ and then click XQ Secure Forms from the dropdown menu. In the input field enter the email associated with your XQ account.if you do not have an XQ account one will be automatically created using the email input. In your email you will receive a one time 6 digit code to validate your account, input this pin in the validation pin input field. By default, XQ will deliver your forms via email. If you want to use email as your receipt channel, leave the checkbox checked. (If you want to deliver via another method, please uncheck this box and refer to our documentation **link to docs.**) Enter the email address of users who should also receive submitted forms - you may input multiple user emails, just separate them with a comma. Each address that you enter will be authorized to decrypt the form submissions. Enter your website's name in the following input field followed by the URL for the page you would like to direct users to following form submission. Once you have completed all the necessary values press the Next button.
Decrypting Encrypted Form Data
In order to decrypt the encrypted form data using the XQ Dashboard simply open the email you received with your forms data. If the form contains an attachment, download the encrypted attachment to your local file system. Click the unlock message button within the email - this will navigate you to the XQ Dashboard where you can view the decrypted form data.
If the form contained an encrypted attachment click on the Decrypt File tab within the XQ Dashboard. Either search for or Drag and drop the encrypted xqf file within your local file system - this will decrypt the contents of the encrypted file. Click the download decrypted file button to download the decrypted file to your local filesystem.
For easy decryption right within your email, install one of XQ’s Chrome, GSuite or Outlook Add ons.
Tracking Secure Form Submissions in XQ Dashboard
To get started visit xqmsg.com and click the Launch XQ button in the navigation bar. Sign into your dashboard using Google single sign-on or using the send a magic link button with the same email address used to set-up the plugin. Click on the communications tab on the left hand side menu. Under communication, click on the filter by type button followed by Form in the dropdown menu. Here you can see how many times the form was viewed, the designated recipients, and the expiry date.
By clicking on an item in the menu you will navigate to a detailed view of that communication log. The dashboard only shows what happened to your data for compliance and security. It doesn't have access to the form submissions themselves.
Each message has the following information associated with it - who can read it, when and where it can be read. There is also a log of every security interaction with your content. How many times it was read, when and where. Here you can revoke access to an authorized user simply by clicking on the revoke button next to the recipient's email address. This will prompt you with a confirm deletion modal if you are sure you want to revoke access click on the confirm delete button. Alternatively you have the option to revoke access to all individuals by clicking on the revoke all button.
Add new authorized recipients to xQ secure form submissions
By adding a new authorized user you are giving permission for that user to receive encrypted from submission and be able to decrypt them.
To get started open the administrator panel of your Wordpress enabled website. In the main administrator navigation bar hover over the settings icon and click XQ Secure Forms in the dropdown menu. In the first input field add additional email addresses of users you wish to receive and be able to decrypt the encrypted forms just separate them with a comma. Once complete click next followed by pressing next again.
You are now able to add new authorized users to XQ Secure Forms.
Didn’t find what you are looking for?
Additional documentation can be found at docs.xqmsg.com/knowledge
